How to Sharpen a Japanese Kitchen Knife: A Guide to Home Cooking and its Features
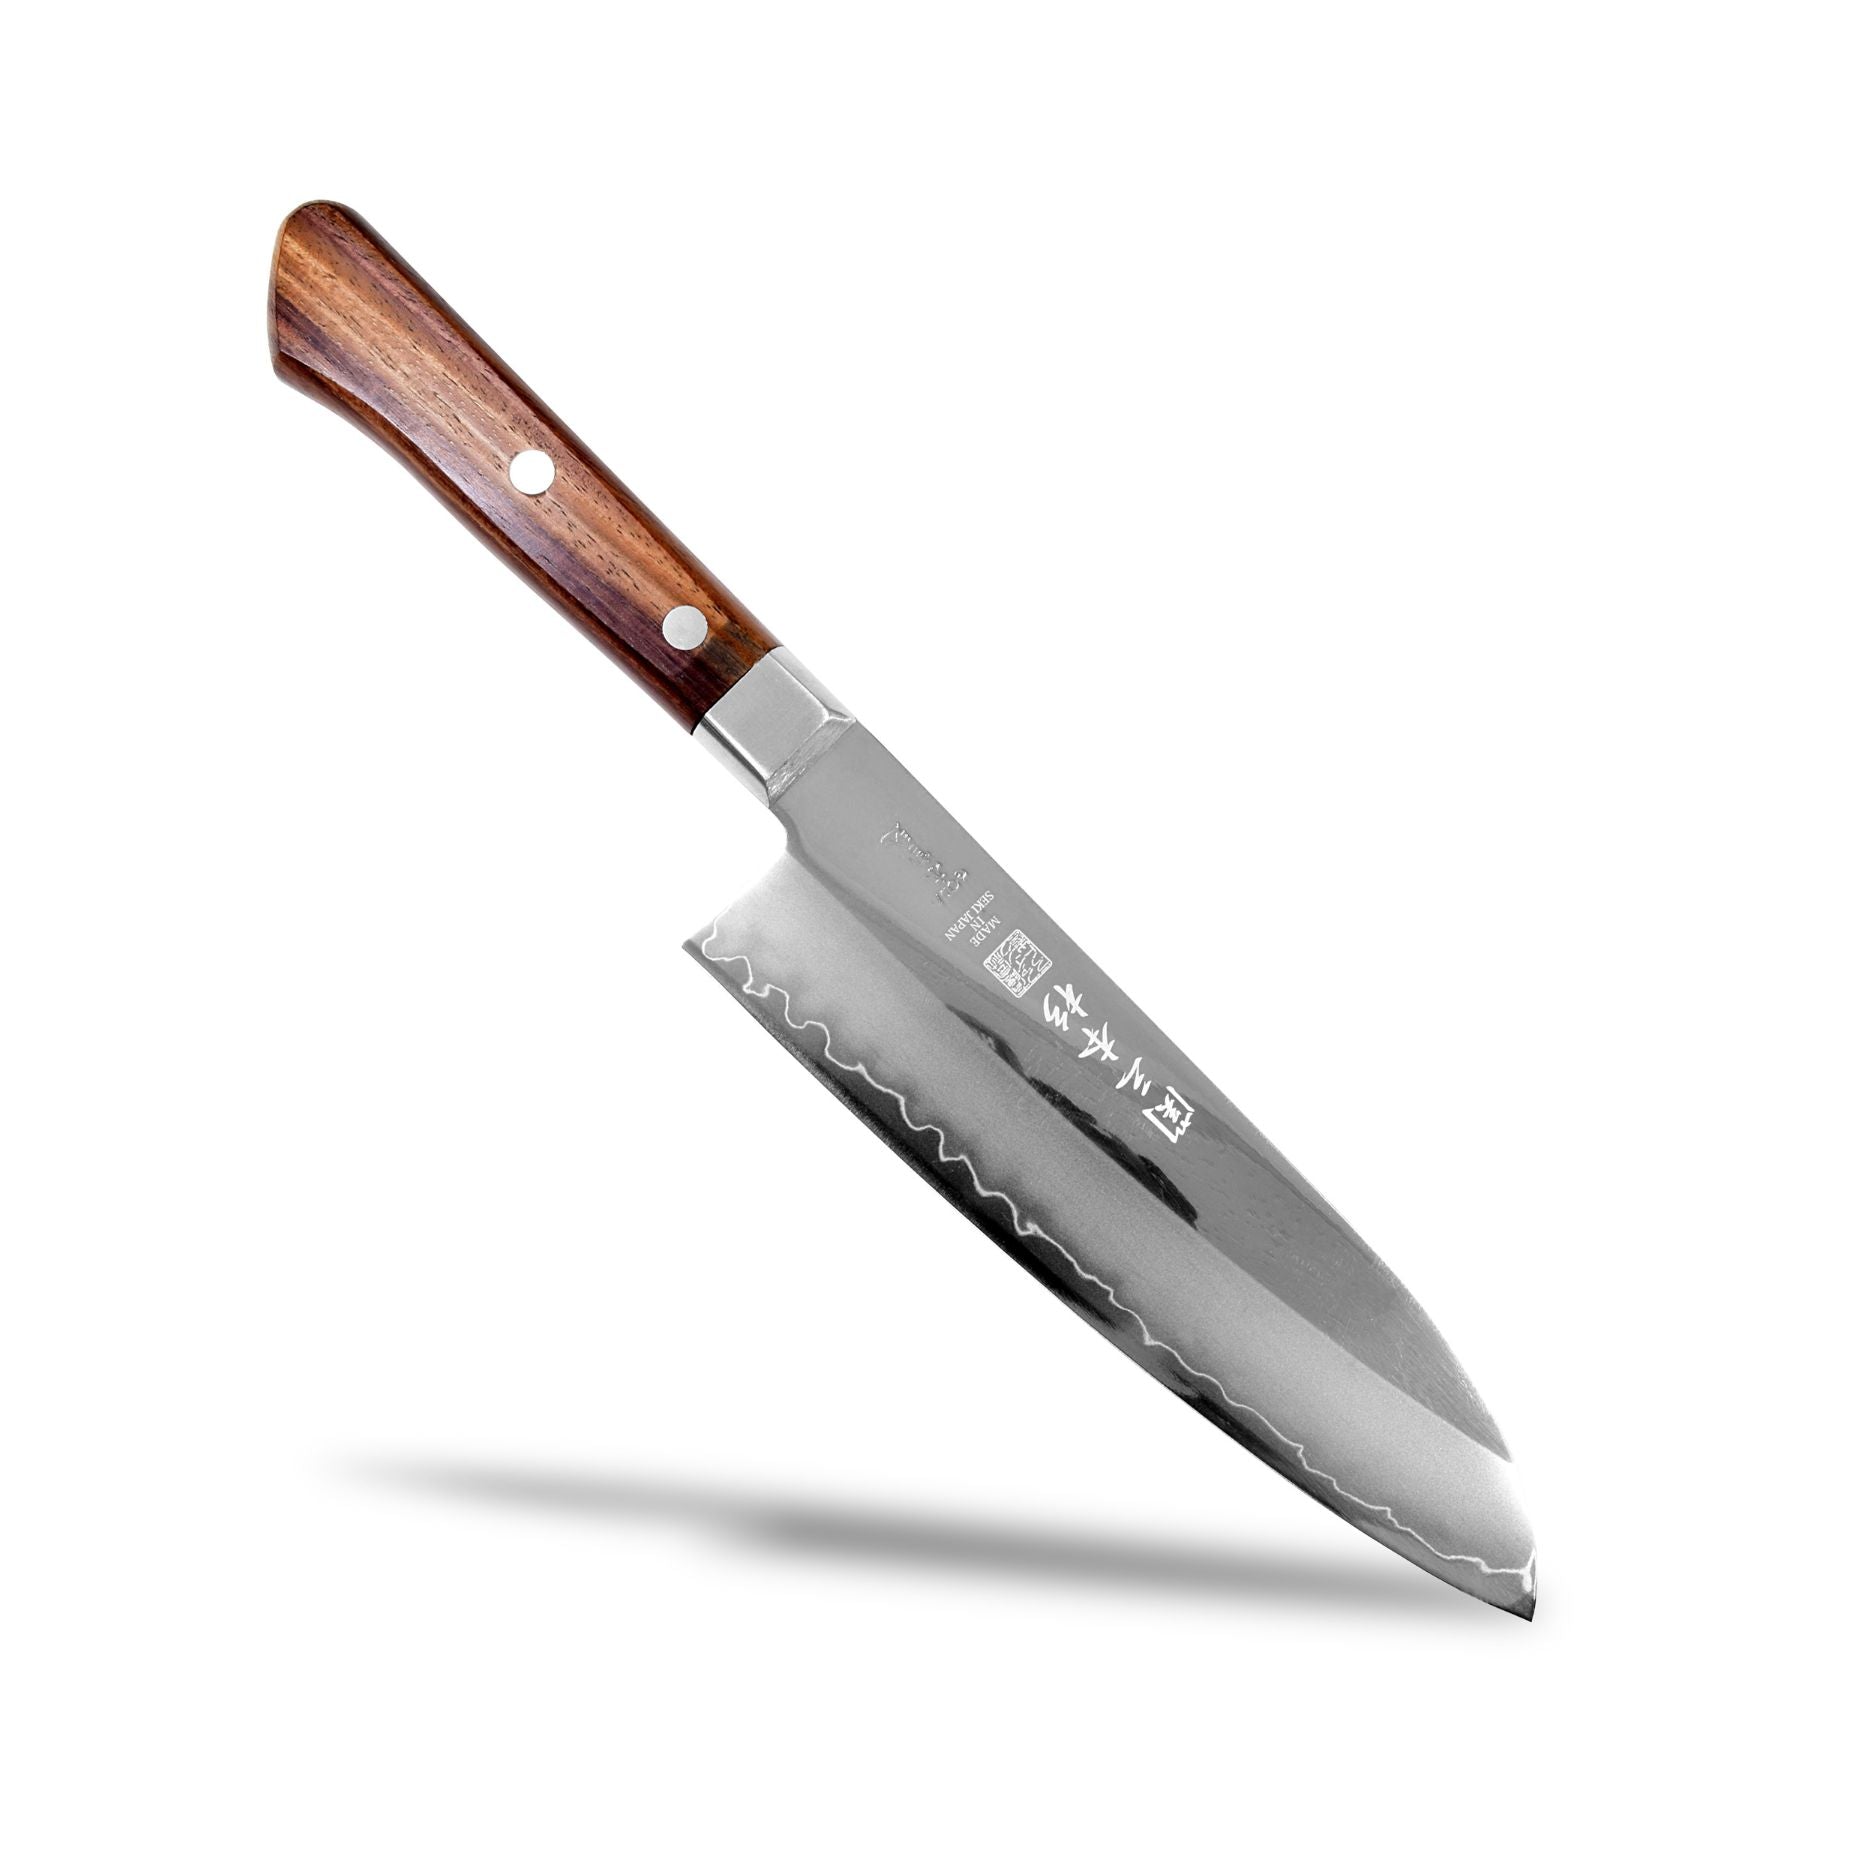
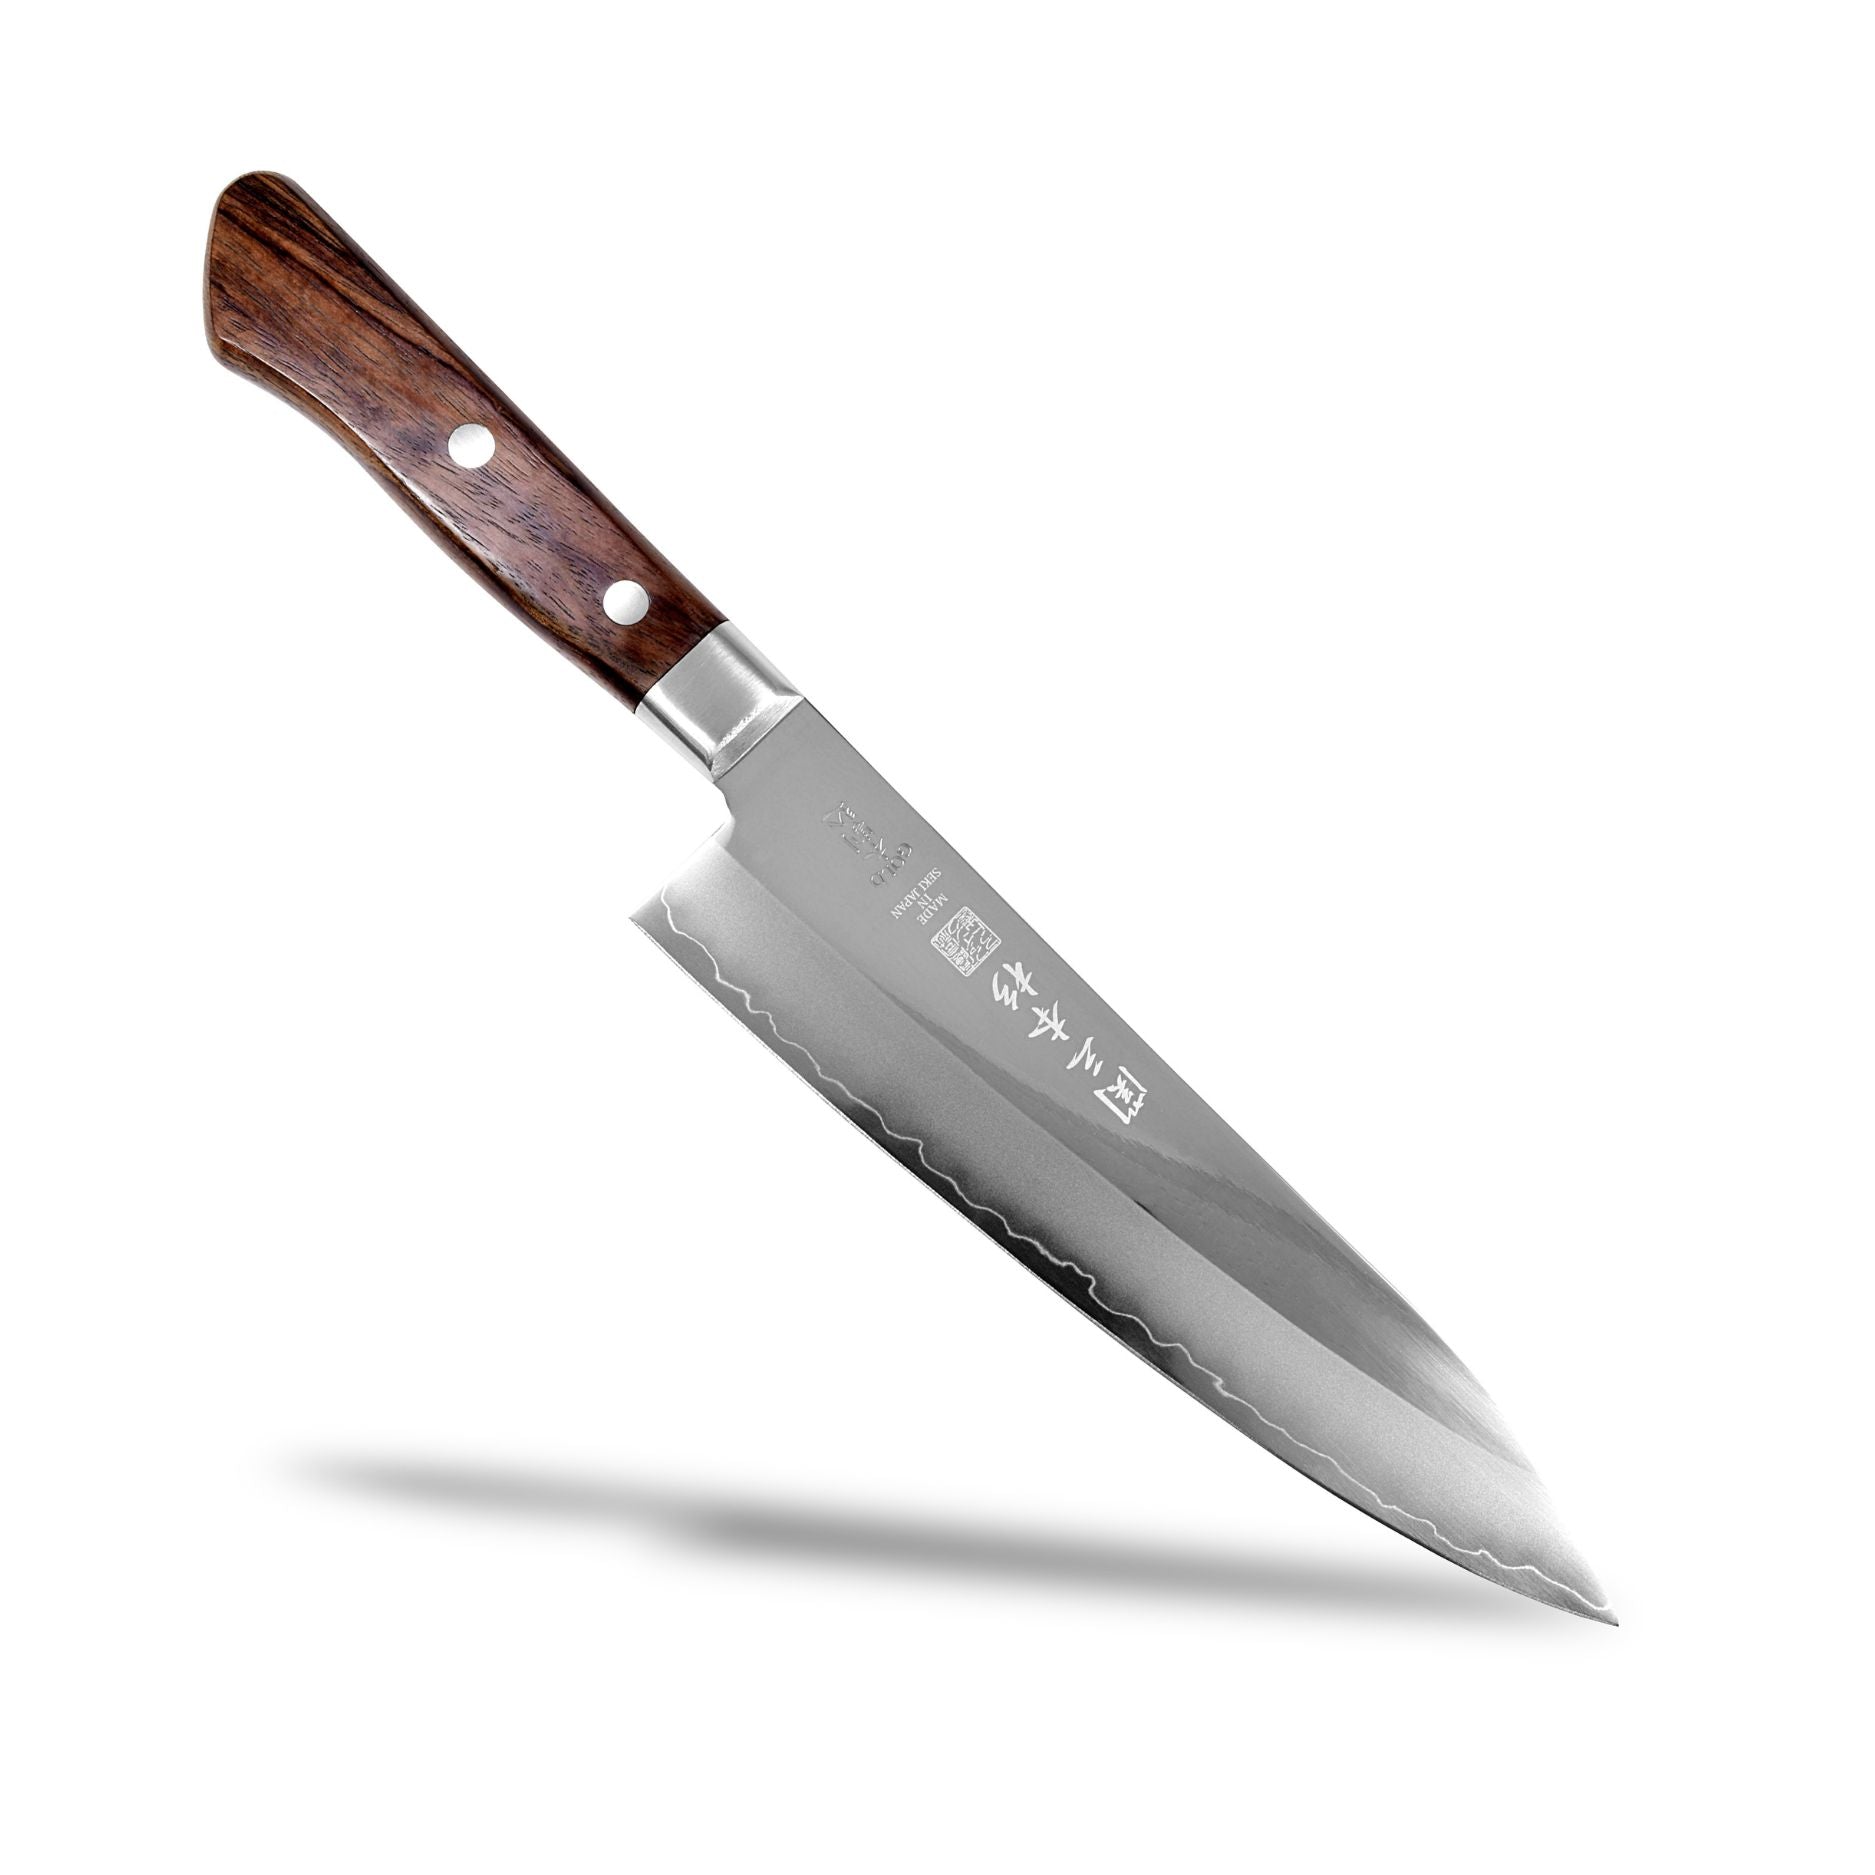
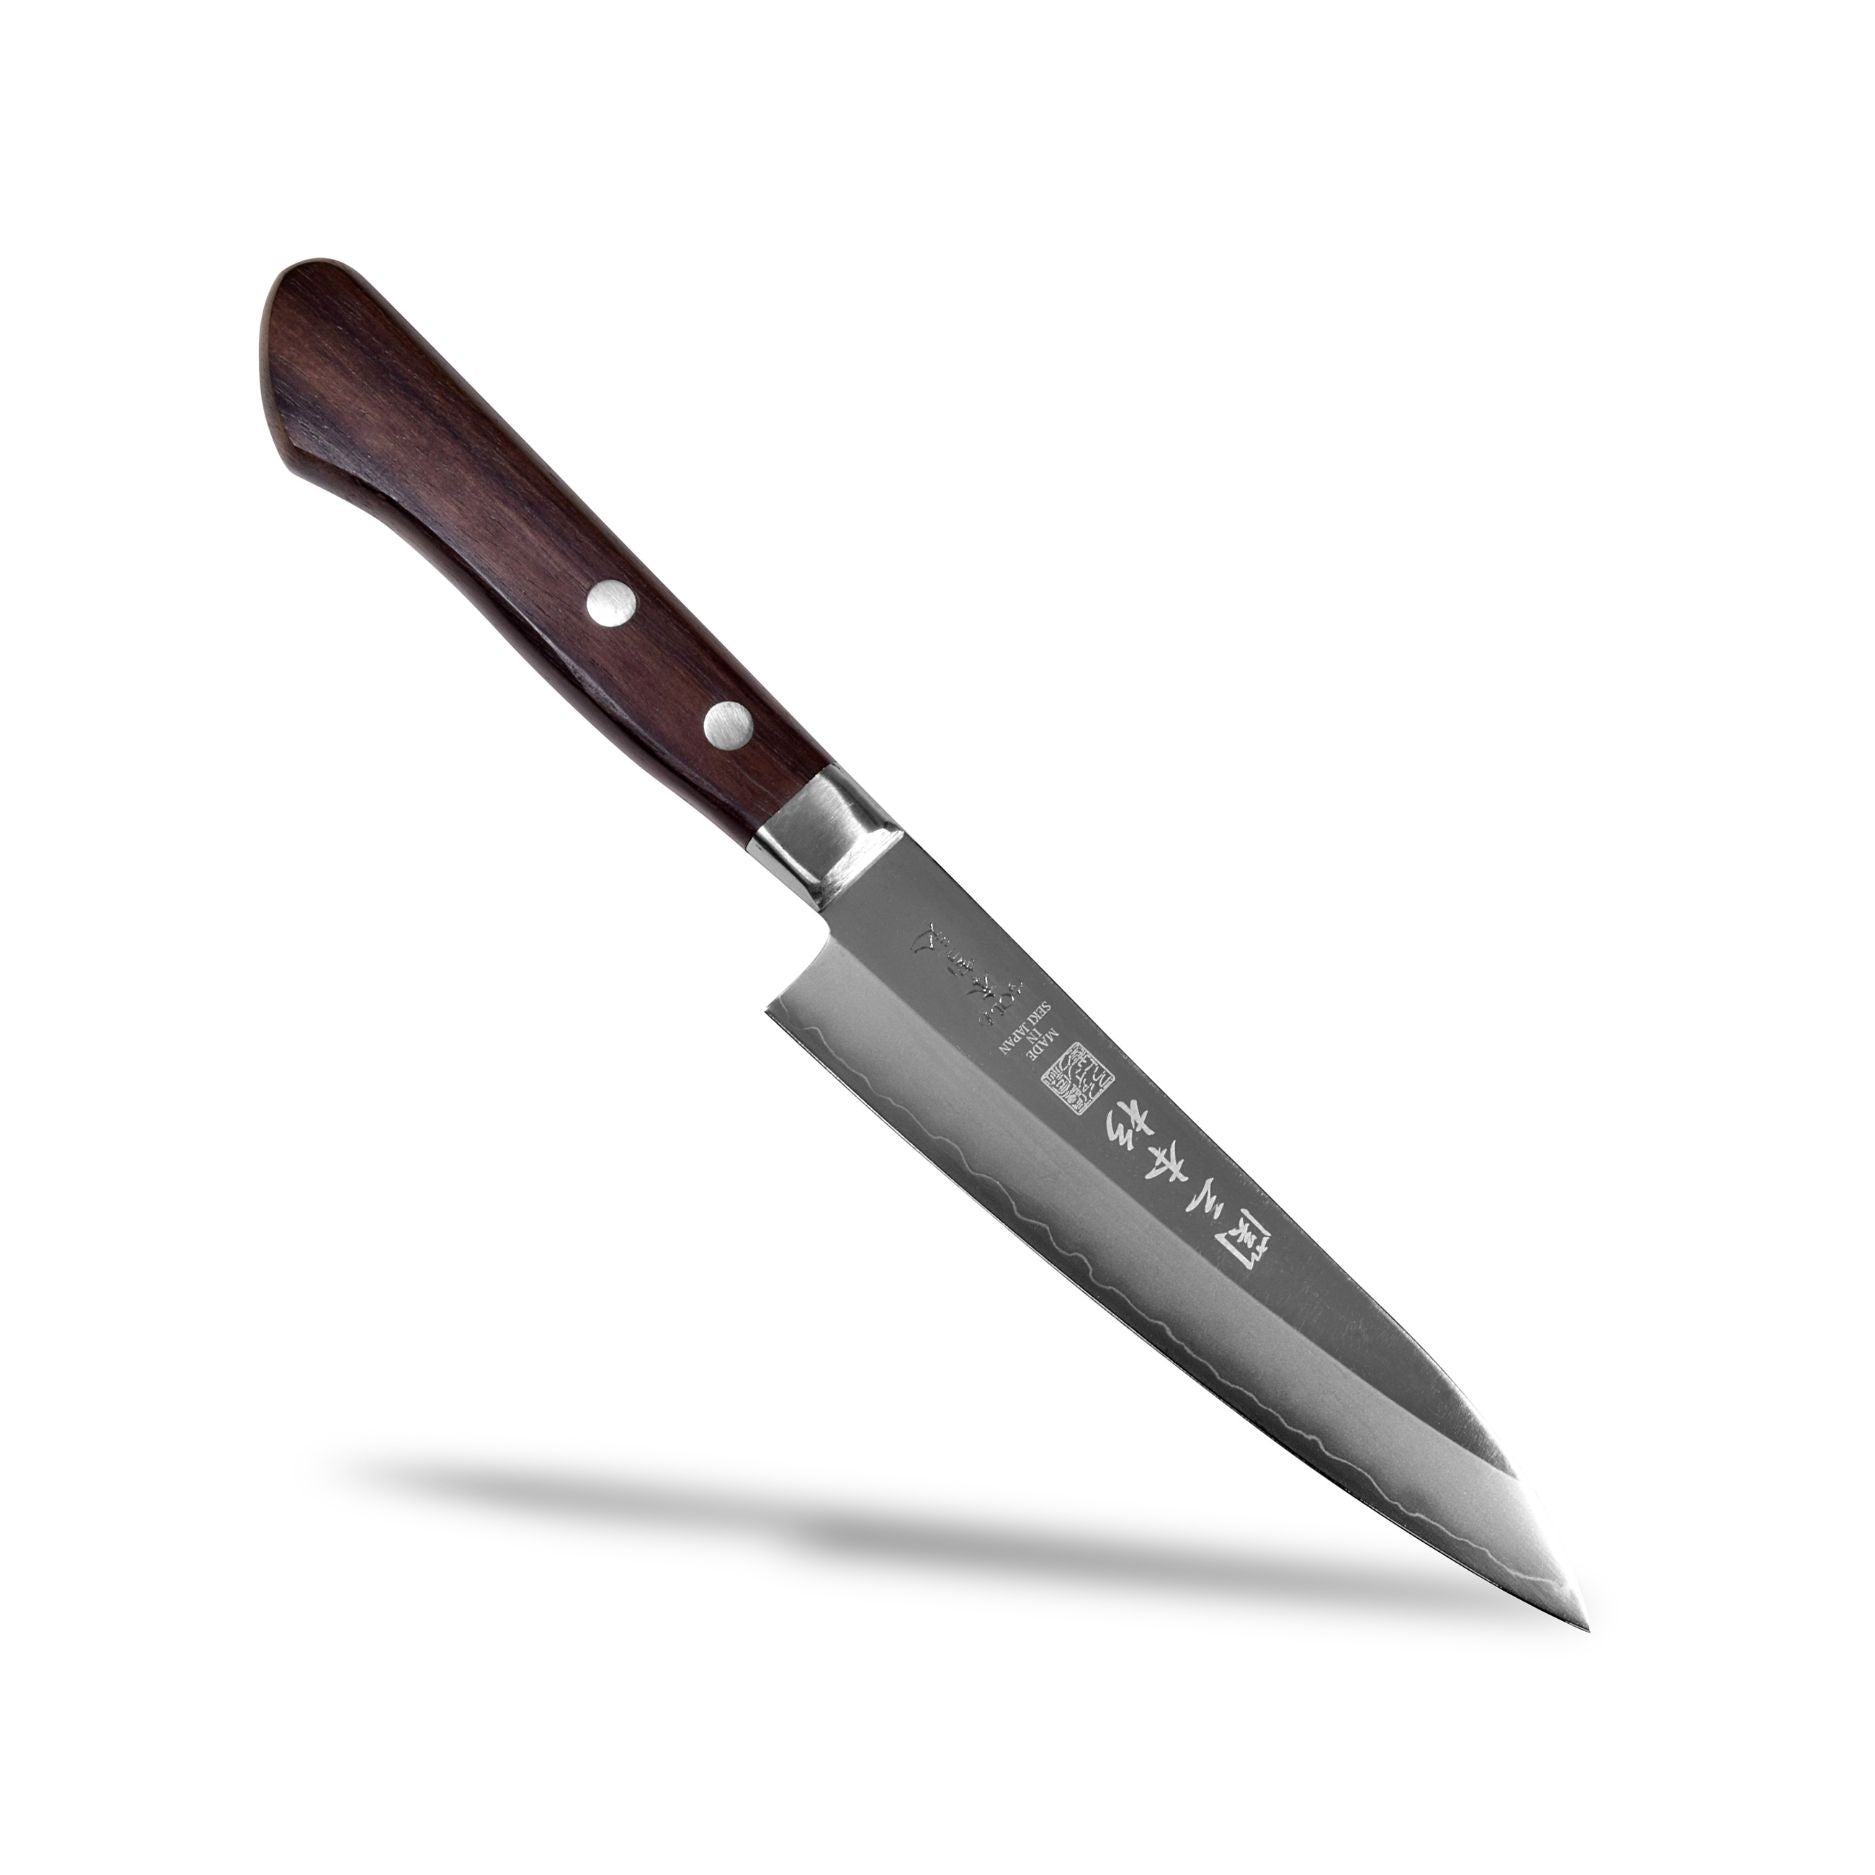
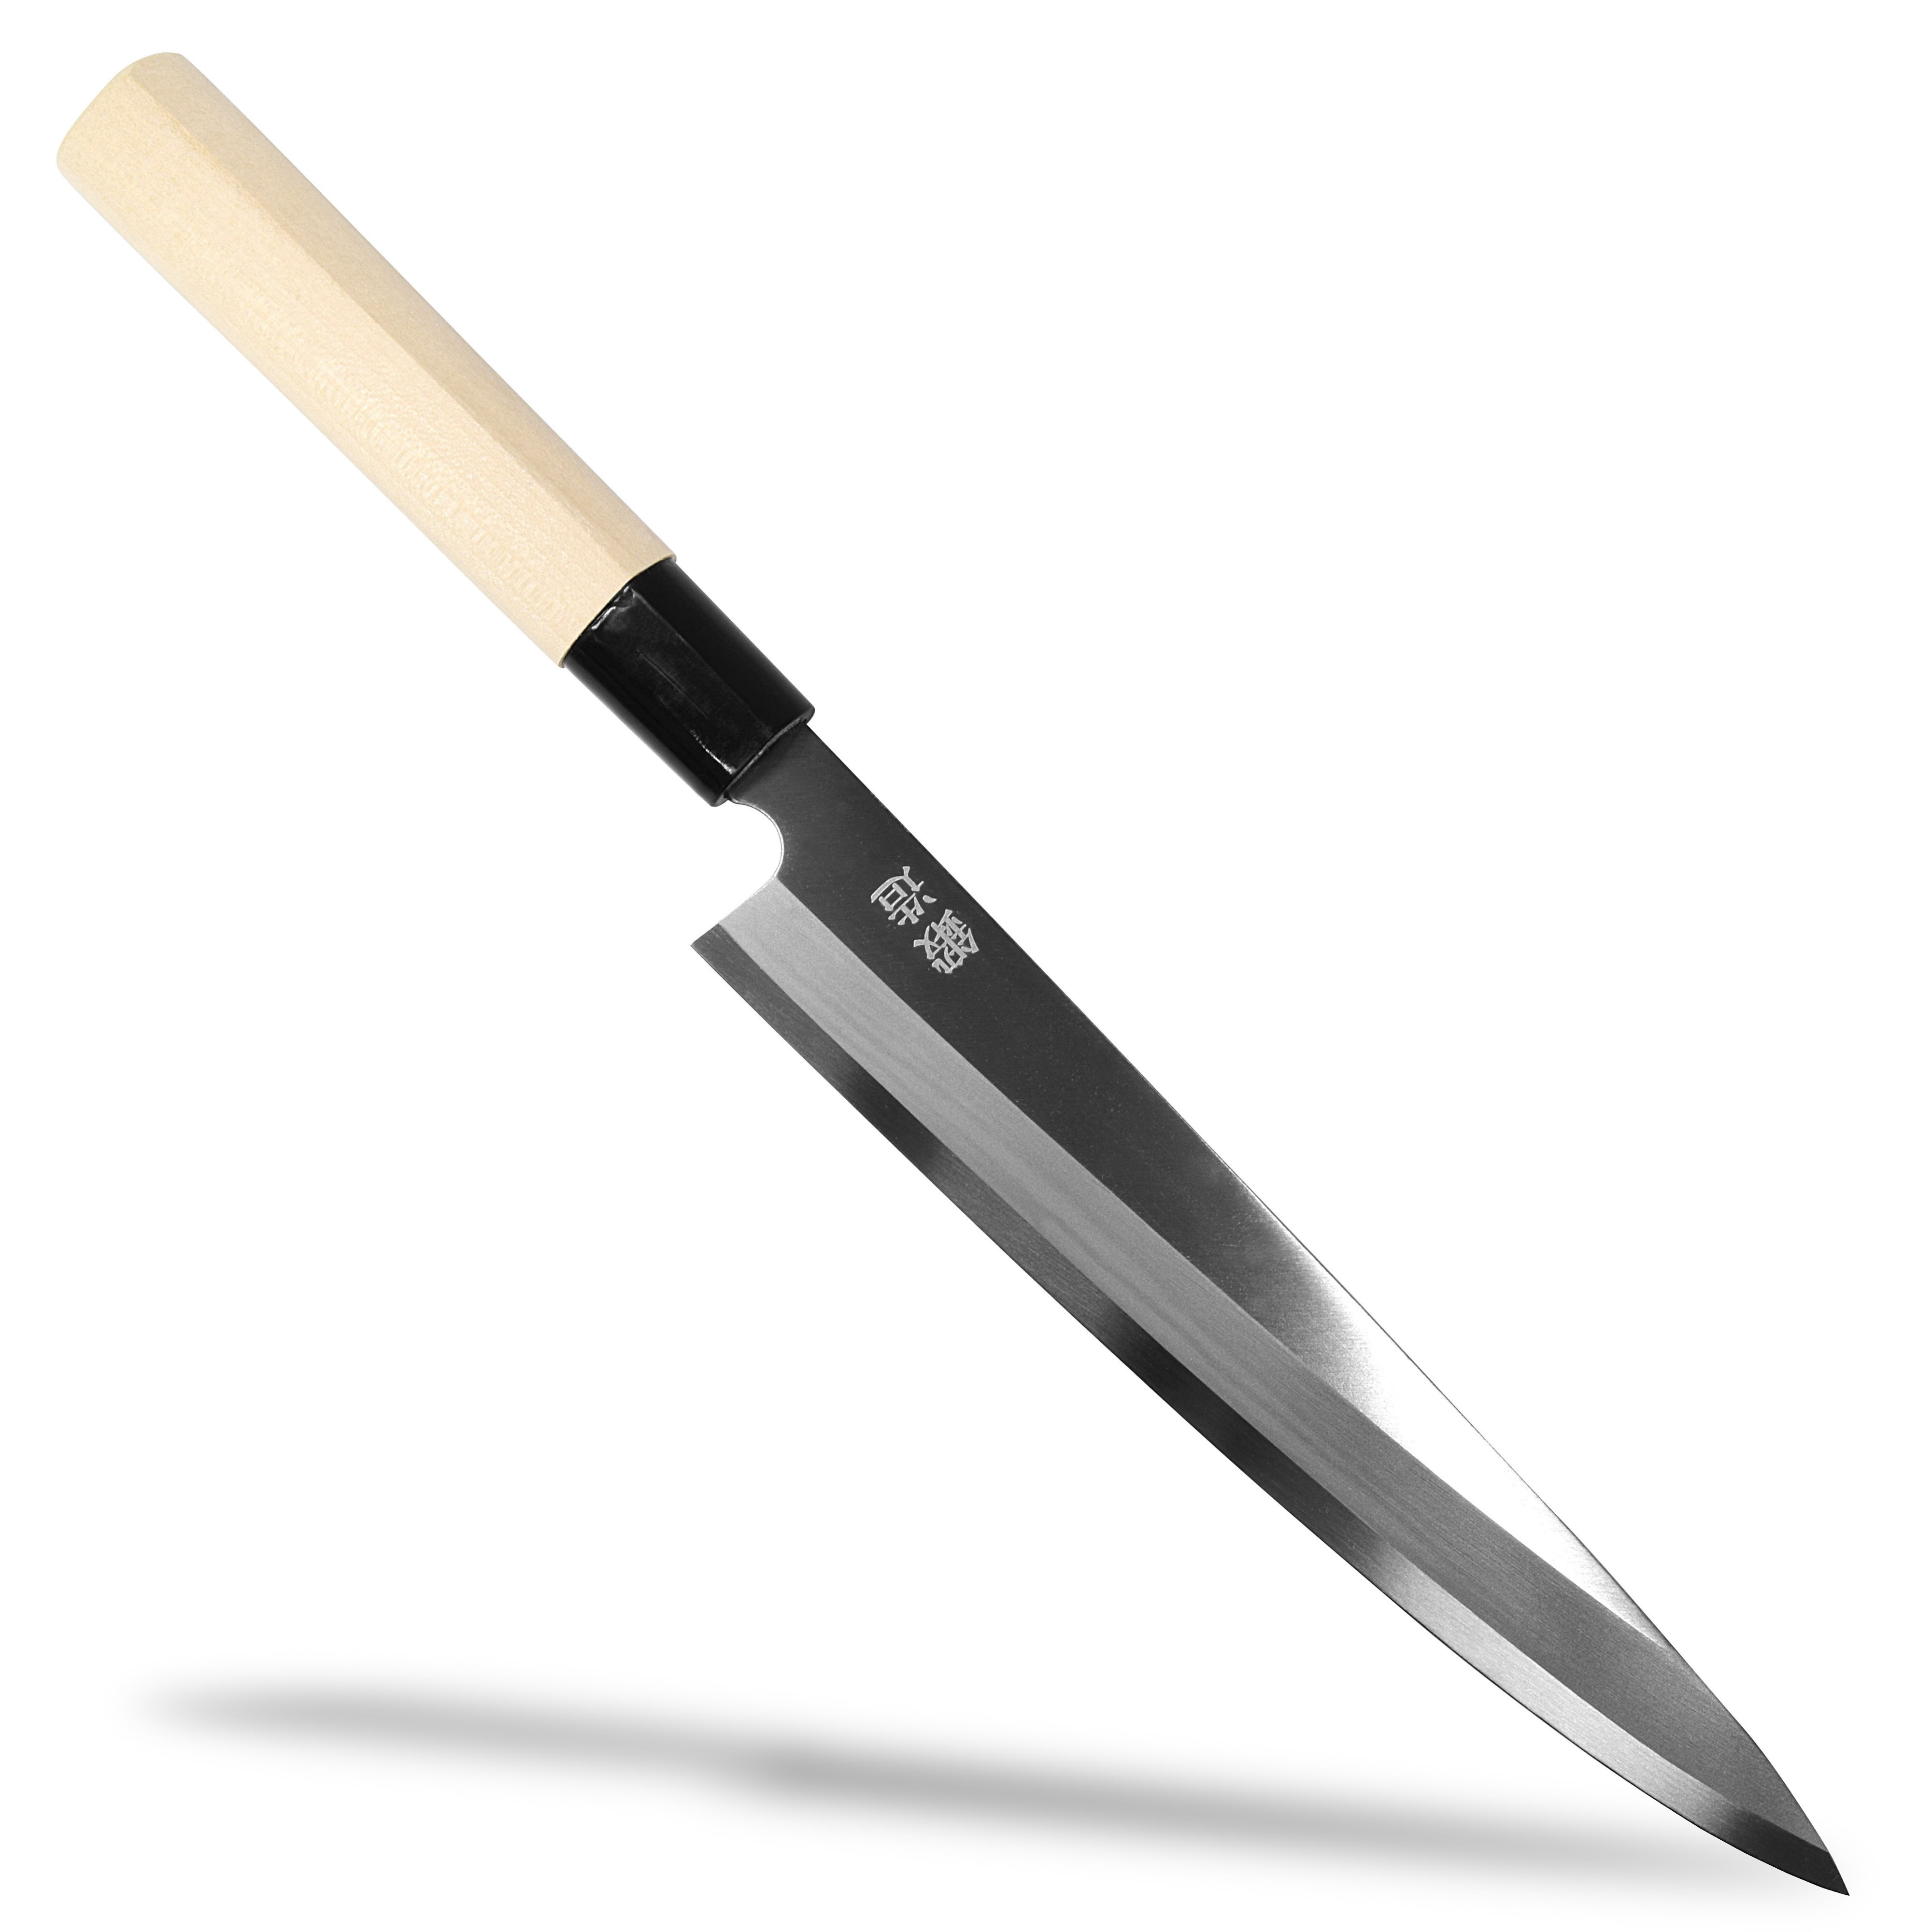
The nakiri knife is a Japanese-style knife specifically designed for vegetables, characterized by its flat, straight blade, thin blade, and wide design. By mastering the correct sharpening technique, vegetable preparation in home cooking will become much smoother. Once you experience the benefits of sharpening, your approach to daily cooking will definitely change.
[Key points of this article]
Today's review: 3 key points
- The most distinctive feature of a vegetable knife is its combination of a flat, straight blade, a thin blade, and a wide blade, making it exceptionally well-suited for cutting vegetables in home cooking.
- The basic principle of sharpening a Japanese kitchen knife is to apply a medium-grit (1000 grit) whetstone evenly to the entire blade, maintaining a consistent angle to prevent the straight edge from warping.
- To prolong the effects of sharpening, it is essential to properly maintain your knives by thoroughly wiping off any moisture after use and storing them correctly, without placing the blades down.
Conclusion of this article
- The nakiri knife is a Japanese kitchen knife that features a straight, flat blade, a thin blade, and a wide blade, making it ideal for efficiently chopping, julienning, and mincing vegetables at home.
- The correct way to sharpen a Japanese kitchen knife is to "immerse the whetstone in water → sharpen the entire blade evenly with a medium-grit whetstone → finish sharpening with a finishing whetstone," and the most important thing is to maintain a consistent angle to match the straight edge of a vegetable knife.
- The benefits of sharpening knives directly impact home cooking in the form of "cleaner vegetable cuts," "easier cutting without applying much force," and "reduced preparation time."
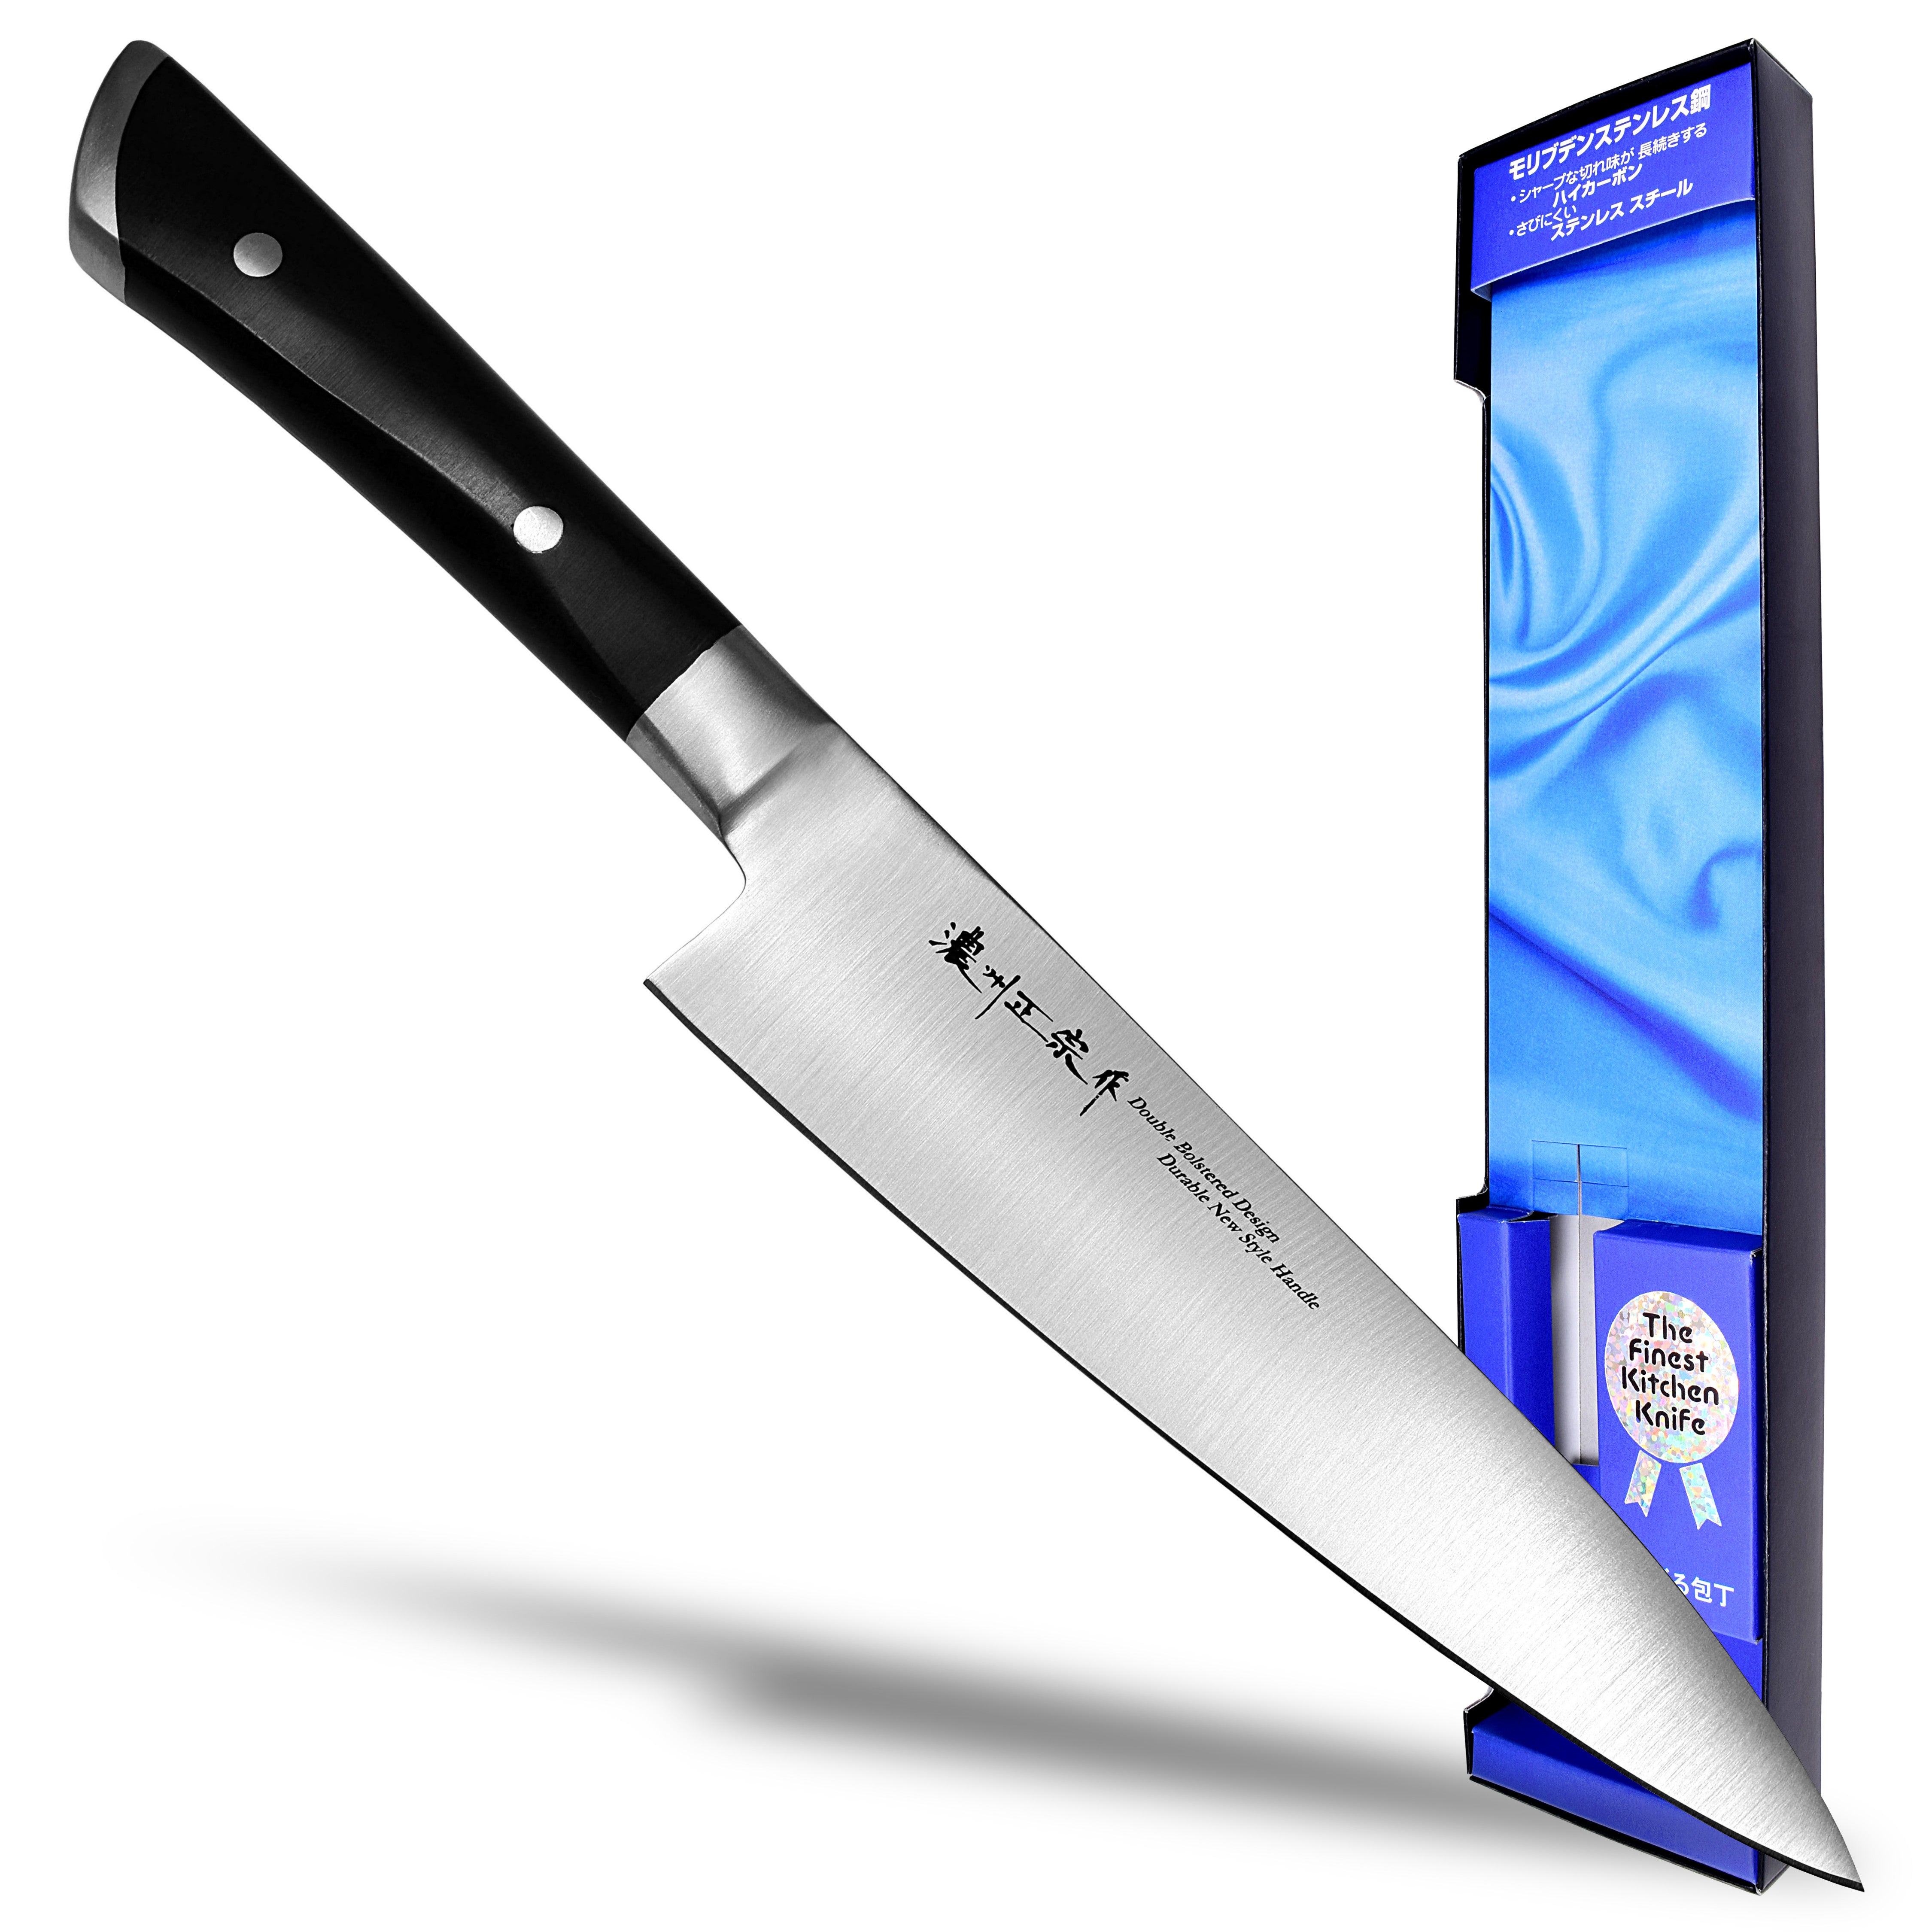
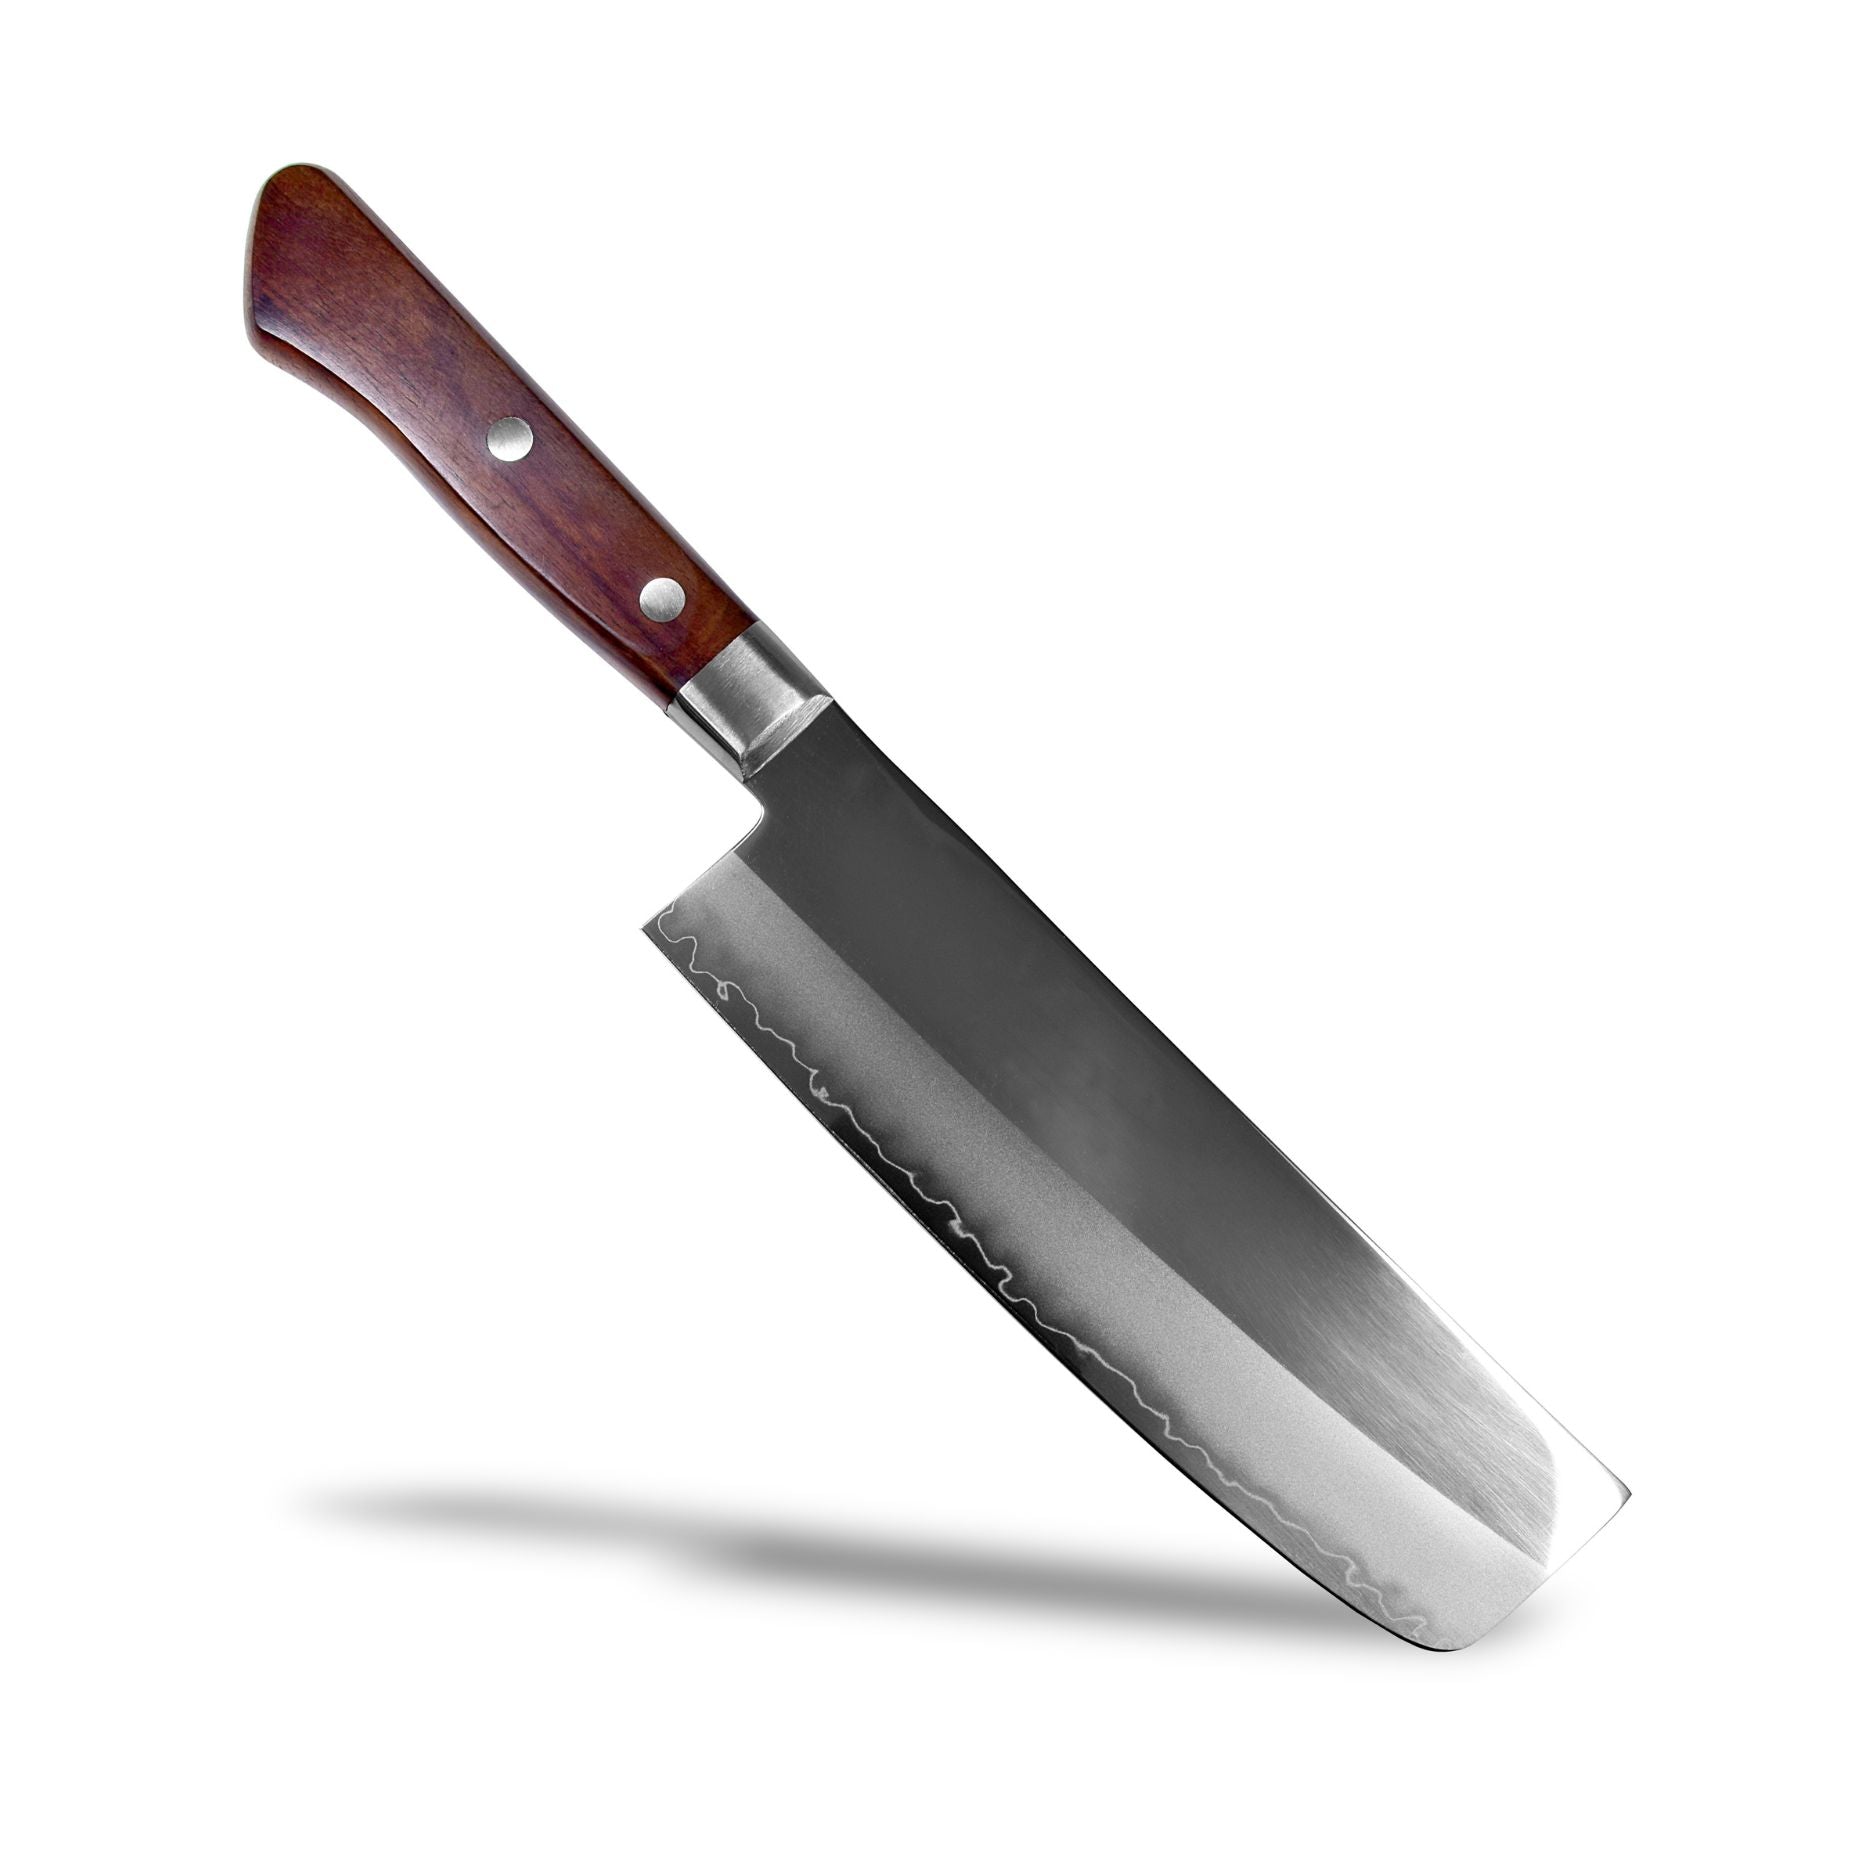
- If you're choosing a vegetable knife for home cooking, a 165-170mm blade, double-edged blade, and stainless steel construction are easy to handle and require less sharpening.
- The first thing beginners should keep in mind is to treat the vegetable knife as "vegetable-only" and make it a habit to sharpen it once or twice a month and carefully manage its moisture content every day.
How to sharpen a Japanese kitchen knife: What are the characteristics of a vegetable knife? Why is it suitable for home cooking?
The main reason why a nakiri knife is well-suited for home cooking is that the shape of its blade directly matches the action of beautifully cutting vegetables. While a santoku knife is designed as an all-purpose knife, a nakiri knife, being specifically designed for vegetable preparation, has a clear advantage in terms of sharpness retention and work efficiency. In addition, its straight blade makes it easy to sharpen, and even beginners can easily maintain a consistent angle. If you're thinking, "I want to try sharpening a knife myself," a nakiri knife is one of the easiest Japanese knives to practice with.
The blade shape of a vegetable knife and its suitability for home cooking
In conclusion, the flat, straight blade of a nakiri knife allows you to cut vegetables by pressing them firmly against the cutting board in one go. With a rounded blade like that of a santoku knife, the contact area with the cutting board is shorter, making it easier for "connections" to remain when cutting long vegetables. On the other hand, because the entire blade of a nakiri knife is parallel to the cutting board, you can create uniformly sized shreds of cabbage or finely chopped green onions. In home cooking that uses a lot of vegetables, such as stir-fries, miso soup ingredients, and salad preparation, this difference in structure directly affects the speed of work.
The wide blade provides ease of scooping and stability.
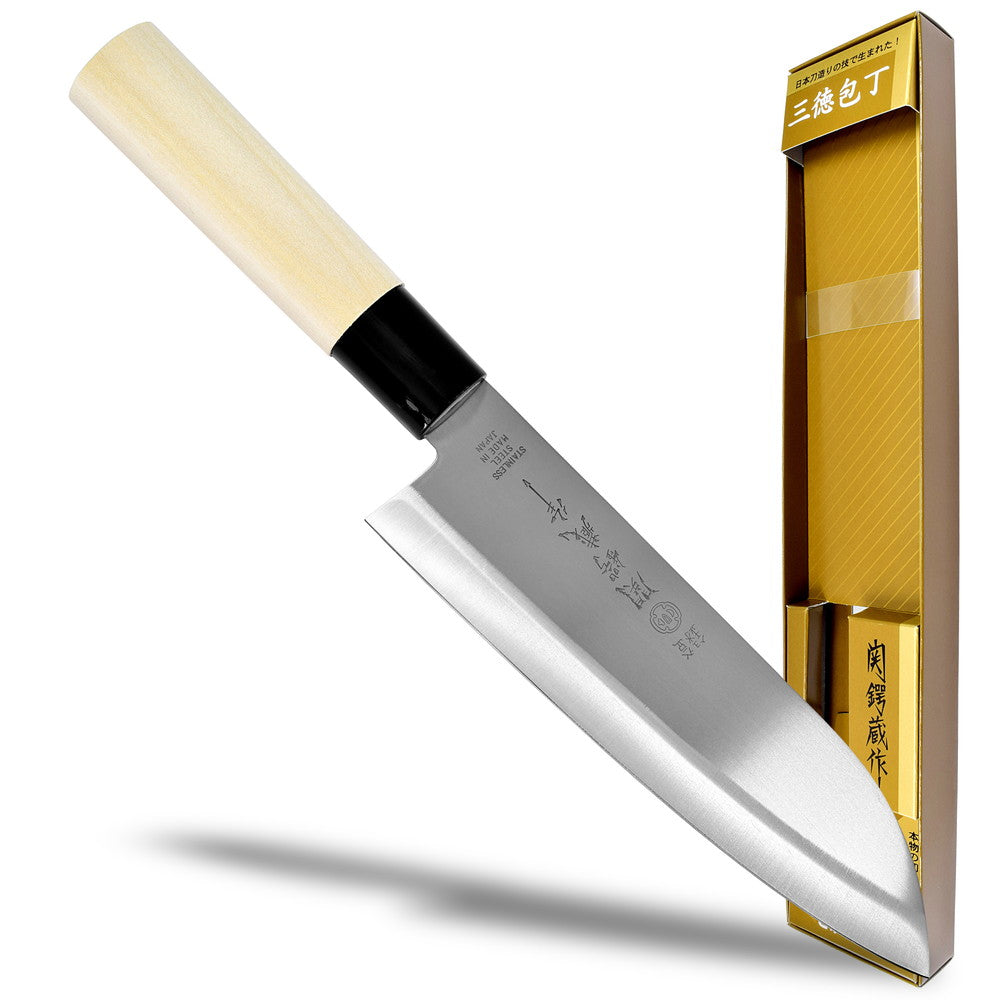
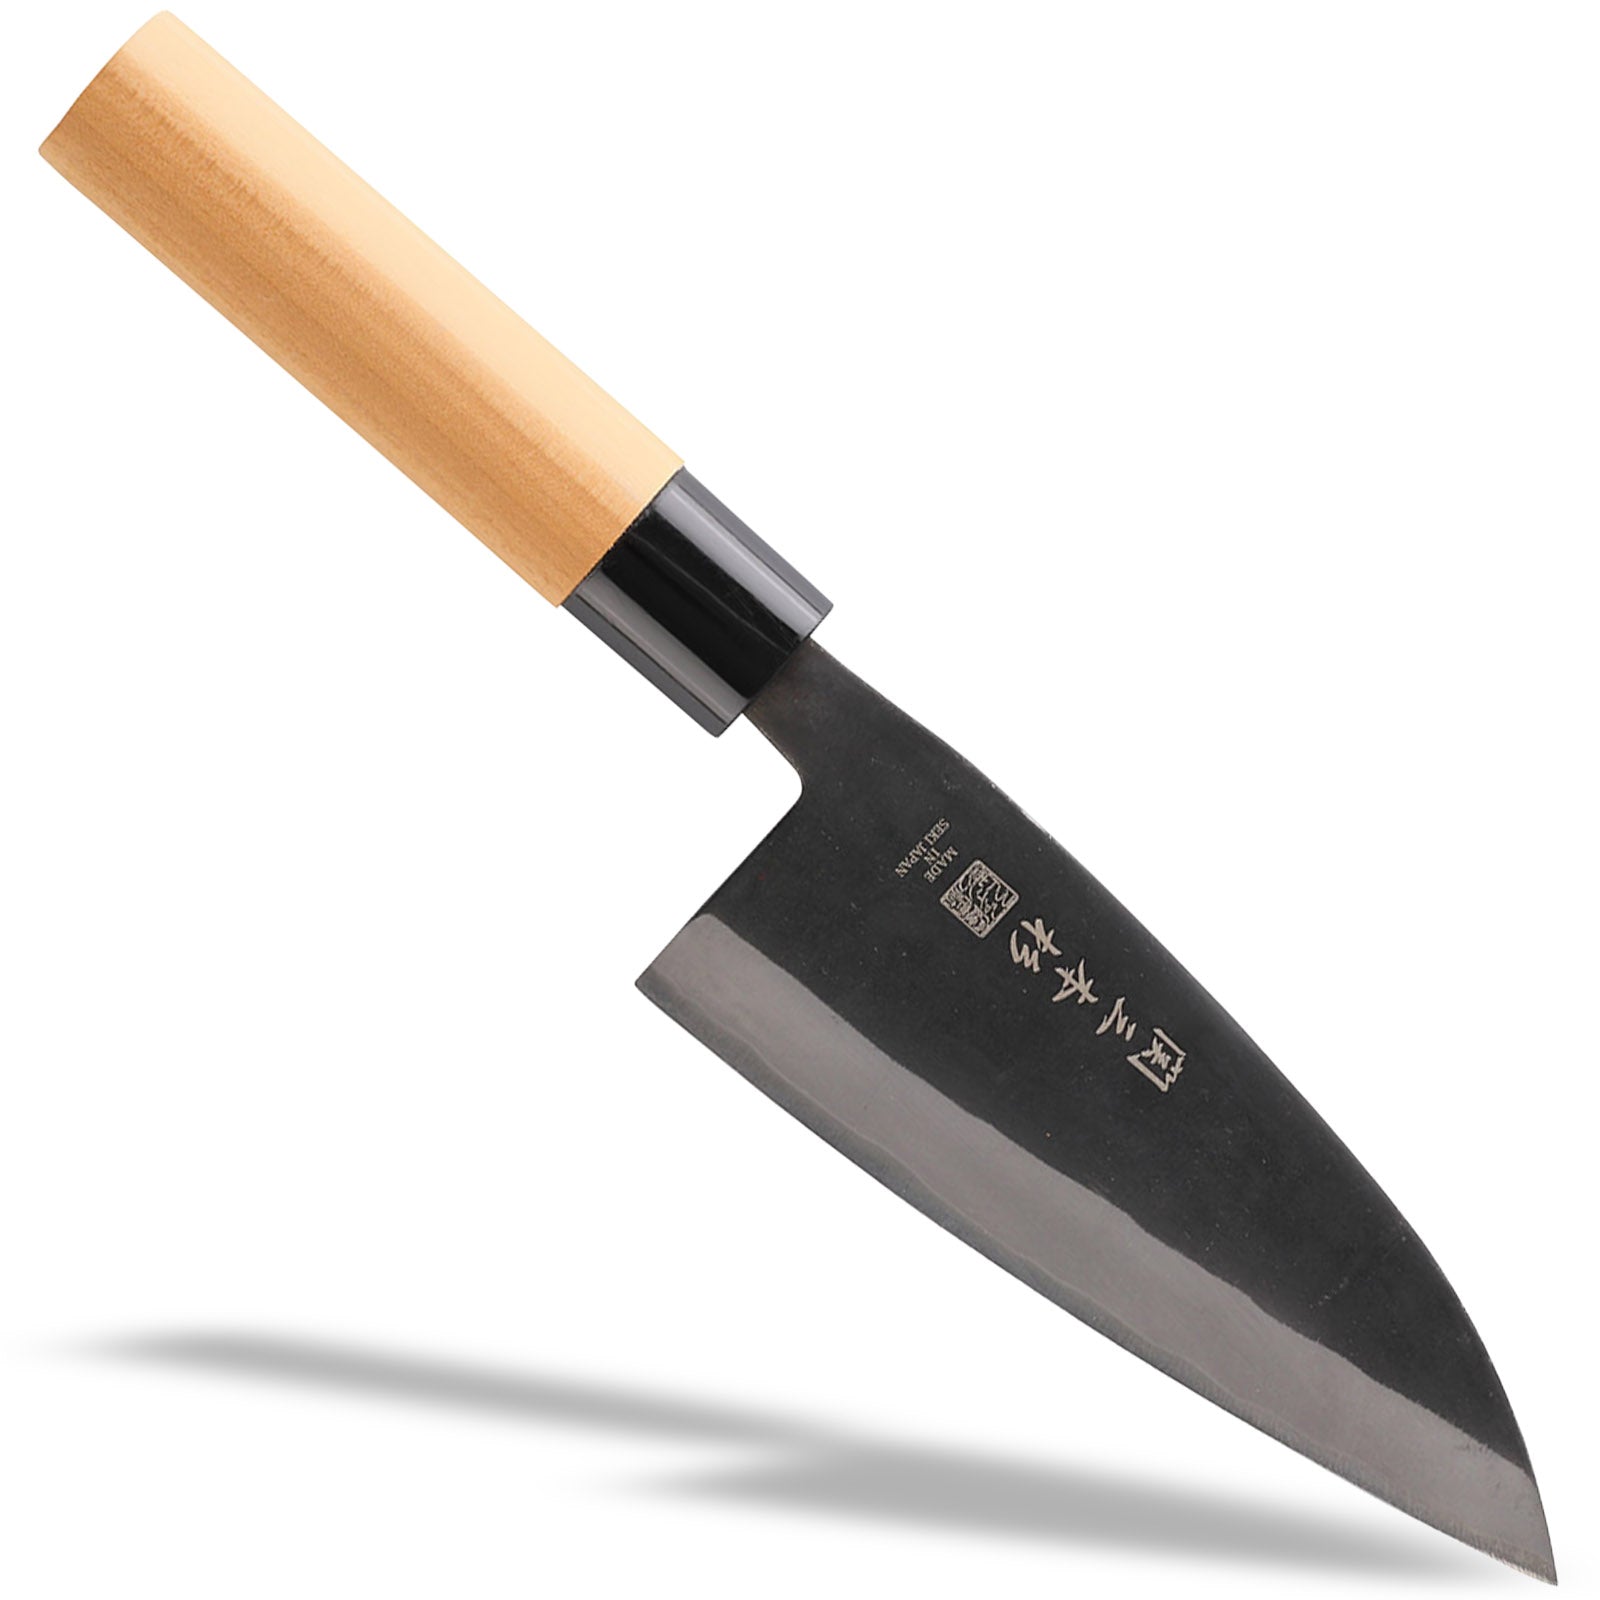
The wide blade of a nakiri knife also serves as a spatula, allowing you to scoop up chopped vegetables and transfer them directly to a pot or bowl. For example, when shredding a large amount of cabbage, a knife with a narrow blade would require multiple passes over the cutting board, but a nakiri knife allows you to scoop up a large quantity in a single motion. The width also creates a suitable gap between the back of your hand and the blade, increasing stability when cutting. Nakiri knives manufactured in Seki City, Gifu Prefecture, a cutlery production area, are designed for home cooking and feature this wide design as standard (e.g., Seki Tsubakura Nakiri Knife 170mm, ¥1,880 including tax), making them easy to incorporate into your daily cooking.
The ease of sharpening is what makes a vegetable knife suitable for beginners.
In short, the straight blade of a nakiri knife is the easiest shape of Japanese knife for beginners to sharpen because it makes it easy to maintain a consistent sharpening angle. Unlike sashimi knives or deba knives, the blade does not have a complex curve, allowing you to apply even pressure to the whetstone. The effectiveness of sharpening is also largely due to the characteristics of this straight blade, and it is said that you can easily feel the sharpness being restored even with a simple sharpening of 2-3 minutes. For those who are trying knife sharpening for the first time, we recommend starting with a nakiri knife.
Japanese kitchen knives that will transform your home cooking: Sharpening techniques and maintenance of vegetable knives
Mastering the correct way to sharpen a vegetable knife will extend the effectiveness of sharpening and steadily improve the quality of your daily home cooking. Many people find sharpening difficult, but with the right procedure and tools, even beginners can restore sharpness in 10-15 minutes. The key is to learn the process: "Prepare the tools → Correct angle → Finishing → Daily maintenance." By developing this habit, you'll reduce the frequency of replacing knives and be able to use a single knife with affection for a long time.
How to Sharpen a Vegetable Knife: Step-by-Step Instructions
The procedure for sharpening a vegetable knife with a whetstone is as follows. The process takes approximately 10-15 minutes, and the cost of a whetstone set (medium and finishing whetstones) is approximately 1,000-3,000 yen.
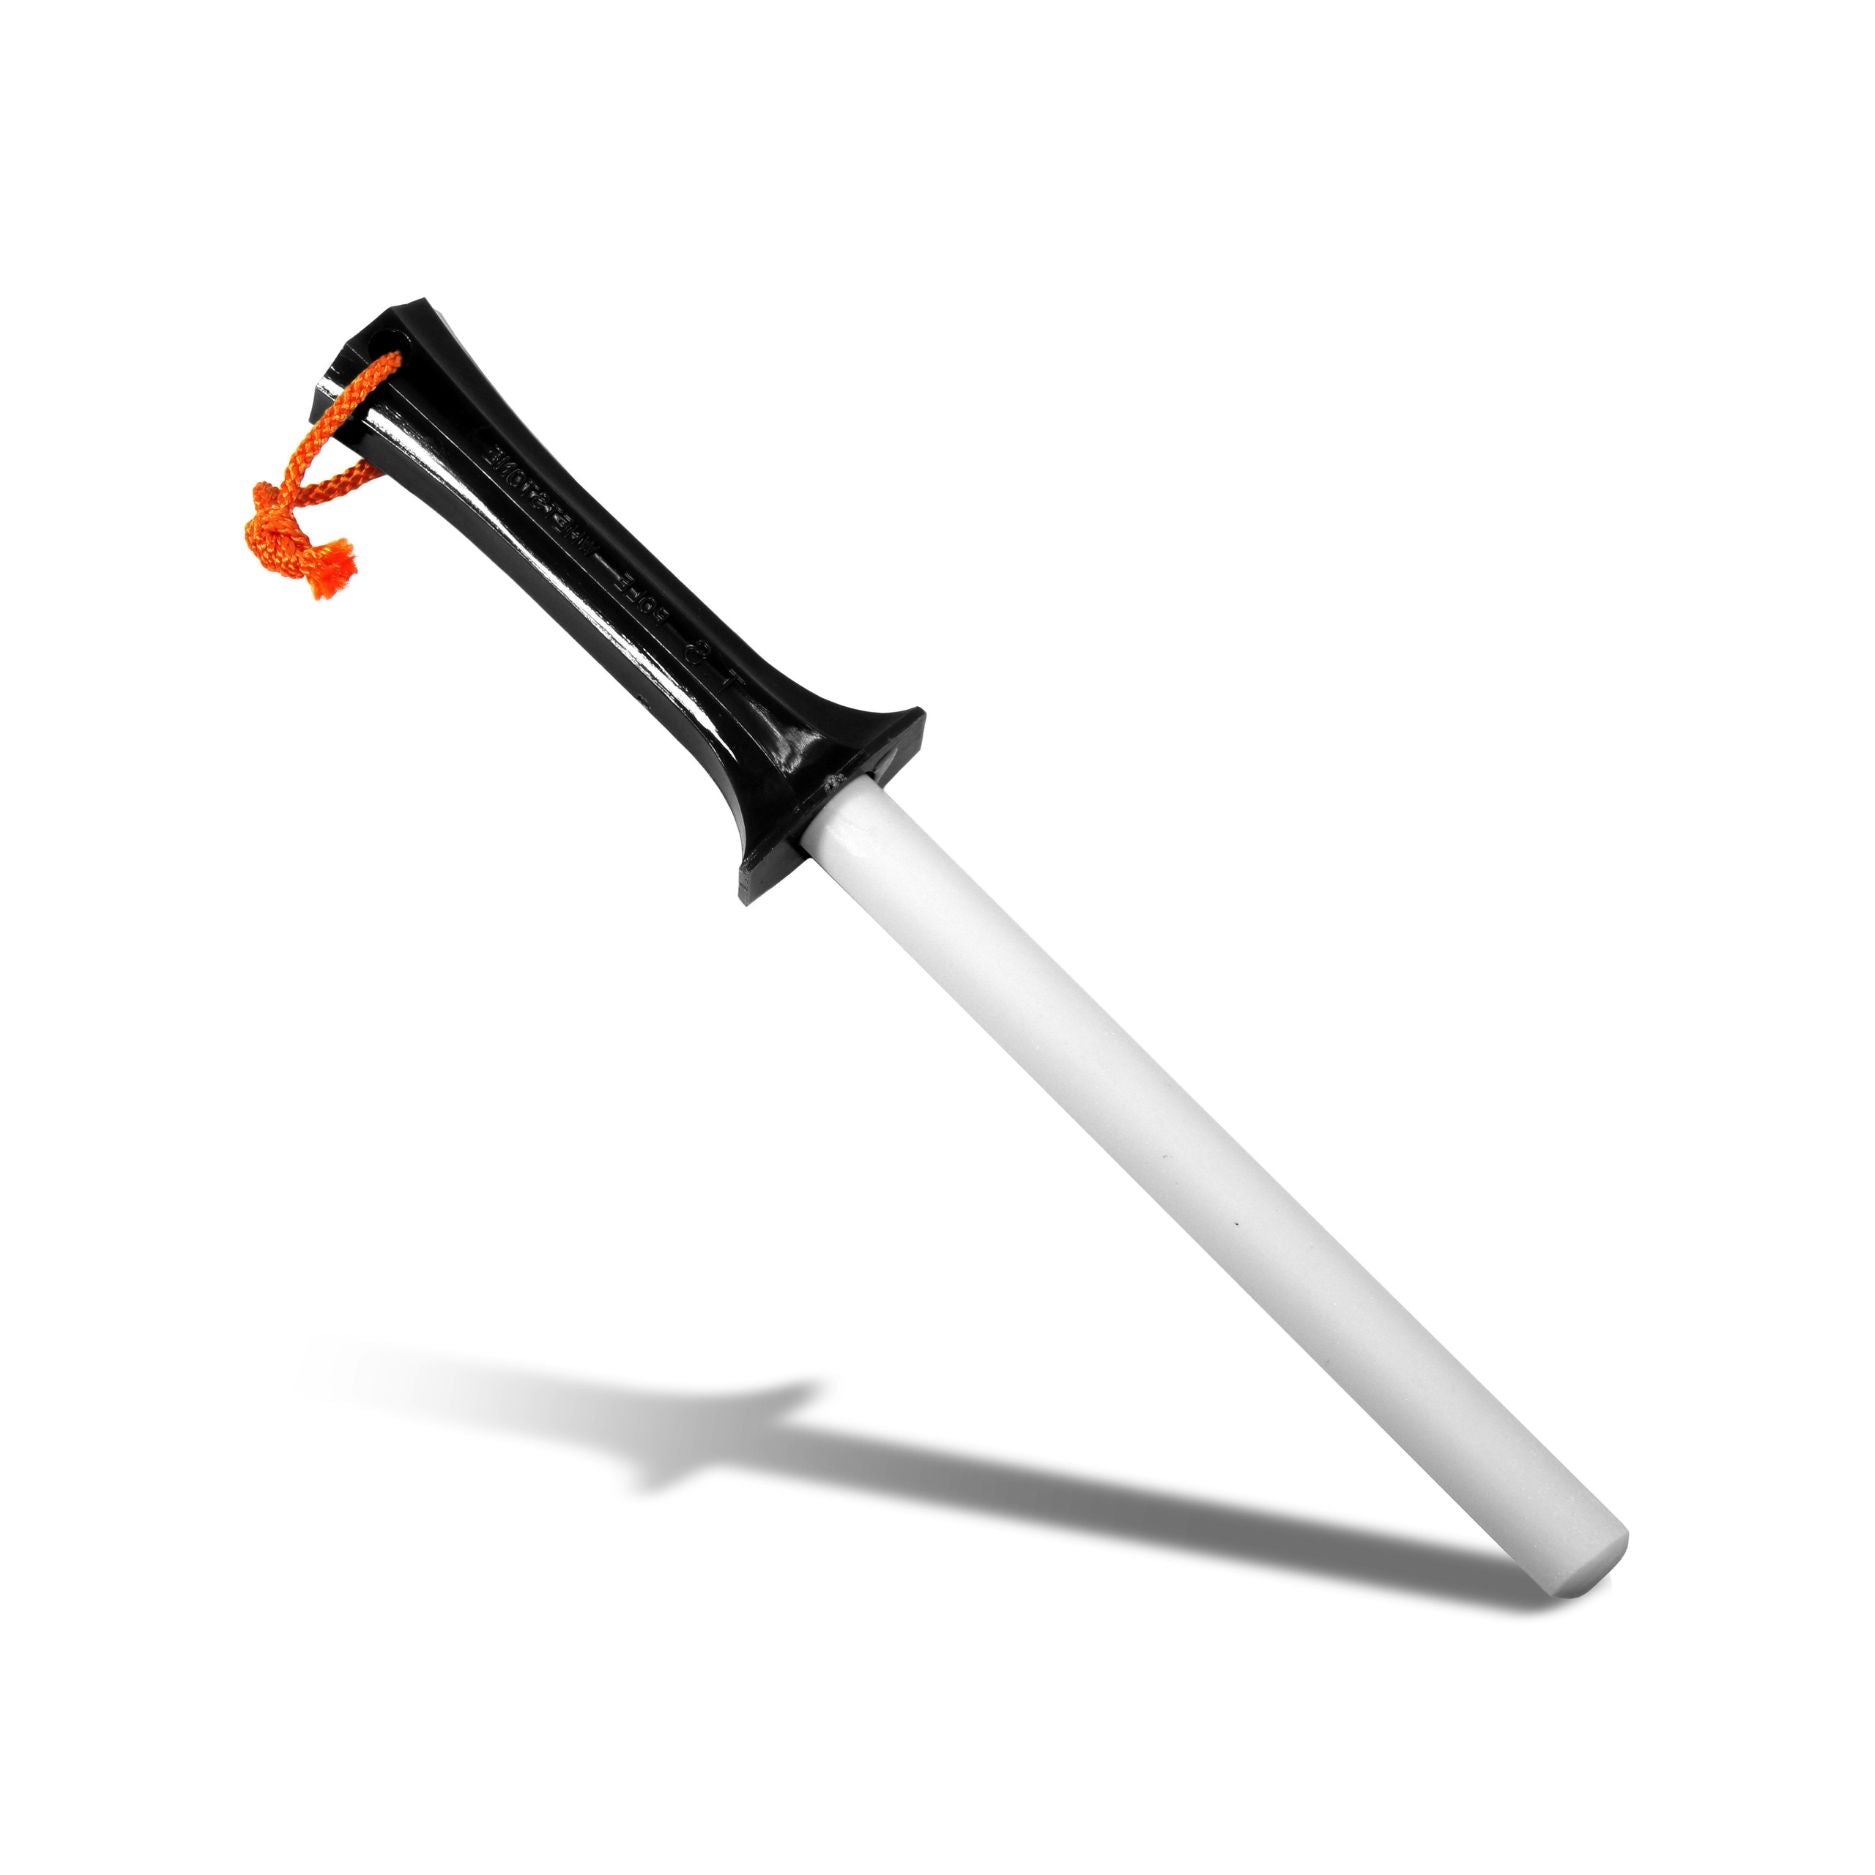
- Soak the whetstone in water for 10-15 minutes (medium grit = 1000 grit recommended).
- Secure the whetstone on the cutting board and place a dishcloth underneath to prevent it from slipping.
- Hold the vegetable knife against the whetstone at an angle of 15 to 20 degrees (a gap roughly the size of two stacked 10-yen coins is a good guideline).
- Move the blade back and forth evenly from the base to the tip (use light pressure and compensate with repeated strokes).
- When a burr appears all over, the sharpening with the medium-grit whetstone is complete.
- Lightly smooth the surface with a finishing whetstone (3000-5000 grit) and remove any burrs.
- Wash the entire blade with water and carefully wipe off the moisture with a clean towel.
Check with your fingertip to see if the entire straight edge of the blade is sharpened evenly, and sharpen any areas that feel weaker with extra care.
Tips for the optimal angle and pressure to maximize the effectiveness of sharpening.
Many reasons why sharpening fails are either an inconsistent angle or applying too much pressure. When sharpening a double-edged vegetable knife, sharpening both sides at the same angle and with the same number of strokes is fundamental to achieving a uniform edge. The pressure should be just enough to feel the blade touching the whetstone; pressing too hard will cause chipping. After sharpening, try pulling a newspaper vertically; if it cuts cleanly, it's a sign that the sharpening was effective. Also, if the surface of the whetstone dries out during sharpening, frequently add water to prevent clogging.
How to maintain sharpness through daily care after sharpening
The most important thing is to get into the habit of wiping off moisture immediately after use. Even stainless steel vegetable knives can become cloudy and develop fine rust if moisture remains on them, and the effect of sharpening will be lost in a short period of time. For storage, a knife stand with the blade facing upwards or a dedicated knife case is ideal. The type of cutting board also affects the sharpness, and wooden or polyethylene cutting boards are recommended as they put less stress on the blade. By combining sharpening with a medium-grit stone once or twice a month and light sharpening with a finishing stone once a week, you can maintain the sharpness of a vegetable knife suitable for home cooking for a long time.
FAQ
Q1. Is the sharpening method for a vegetable knife the same as for a santoku knife?
A1. The basic procedure is the same. However, because the vegetable knife has a straight blade, it is easier for the whetstone to make even contact with the blade tip, and it is easier for beginners to maintain the angle, making it easier to sharpen than a santoku knife.
Q2. What size vegetable knife should I choose for home cooking?
A2. A blade length of 165-170mm is the most convenient size for home use. Choosing a size that matches your cutting board and storage space will allow you to use it stress-free for everyday vegetable preparation.
Q3. How long does the effect of sharpening last?
A3. For typical household use (once a day), sharpening once or twice a month is sufficient to maintain good sharpness. Proper moisture management after use and proper storage will extend the sharpness even further.
Q4. What grit whetstone should I use?
A4. The basic procedure is to first sharpen the blade with a medium grit whetstone (800-1200 grit), and then polish the edge with a finishing whetstone (3000-5000 grit). For your first knife, a 1000 grit medium grit whetstone is versatile and offers excellent cost performance.
Q5. Which is better suited for home cooking: a vegetable knife made of stainless steel or carbon steel?
A5. Stainless steel is suitable for home cooking because it is rust-resistant and easy to maintain. Carbon steel is excellent in terms of sharpness and ease of sharpening, but it requires careful moisture management after use, so it is suitable for people who can take care of it meticulously every day.
Q6. How can I check for burrs (sharpened edges) when sharpening?
A6. If you lightly run your fingertip over the unsharpened edge of the blade, you will feel a catching sensation; this is a burr. When burrs appear all over the blade, it's a sign that sharpening with a medium-grit whetstone is complete. Check by feel with your fingertips without applying too much pressure.
Q7. Can sharpening a vegetable knife too much cause the blade to chip?
A7. Applying too much force during a single sharpening or sharpening too many times will thin the blade too much, increasing the risk of chipping. Maintaining a consistent angle with light pressure and sharpening frequently whenever you feel the blade is no longer cutting effectively is a good way to prevent chipping.
Q8. Is it okay to sharpen a vegetable knife with an electric sharpener?
A8. While it is possible to use an electric sharpener, it may remove too much of the blade's shape compared to sharpening with a whetstone. If you want to maintain the straight edge of your vegetable knife for a long time, hand sharpening with a whetstone is the most suitable method.
summary
- The nakiri knife is a Japanese knife specifically designed for vegetable preparation, characterized by its three features: a flat, straight blade, a thin blade, and a wide blade. It excels in ease of use and efficiency in home cooking.
- The correct way to sharpen is to "sharpen with a medium-grit stone while maintaining a uniform angle → smooth with a finishing stone → wipe off moisture after use," and even beginners can do this in 10 to 15 minutes.
- To prolong the effects of sharpening, the most practical maintenance method is to combine sharpening with a whetstone once or twice a month with daily maintenance.
- Choosing a double-edged, stainless steel vegetable knife with a blade length of 165-170mm, and properly sharpening and using it regularly, is the surest way to enrich your daily cooking.
Number of characters in the main text (excluding spaces): Approximately 4,230 characters